How to Create a paid GitHub Enterprise Account with an Azure Subscription (self-service)
2024-12-02 Update: An updated and more complete version article is posted in Microsoft Dev Blogs - All things Azure. Please check this instead!
GitHub recently announced metered billing for GitHub Enterprise and GitHub Advanced Security. This new feature allows anyone with an Azure subscription to self-provision a paid GitHub Enterprise Cloud (GHEC) account within minutes. In this post, I will provide a step-by-step guide on how to do that. This guide aims to make it easier for you to get started and leverage the full potential of GitHub’s enterprise features.
Objective and Disclaimer: This post is written for my future personal reference. I took screenshots as I configured a new GHEC EMU account. There will surely be scenarios which are not covered in this post. Please refer to the official GitHub article for the most accurate and up-to-date information.
Step-by-step guide
Prerequisites
- A GitHub personal account. If you don’t have one, you can sign up here.
- An active subscription to Microsoft Azure.
- Owner rights to the Azure subscription.
- Cloud Application Administrator rights to the Microsoft Entra ID tenant associated with the subscription. For more information, refer to the documentation here.
Step 1: Create a GitHub Enterprise Trial Account
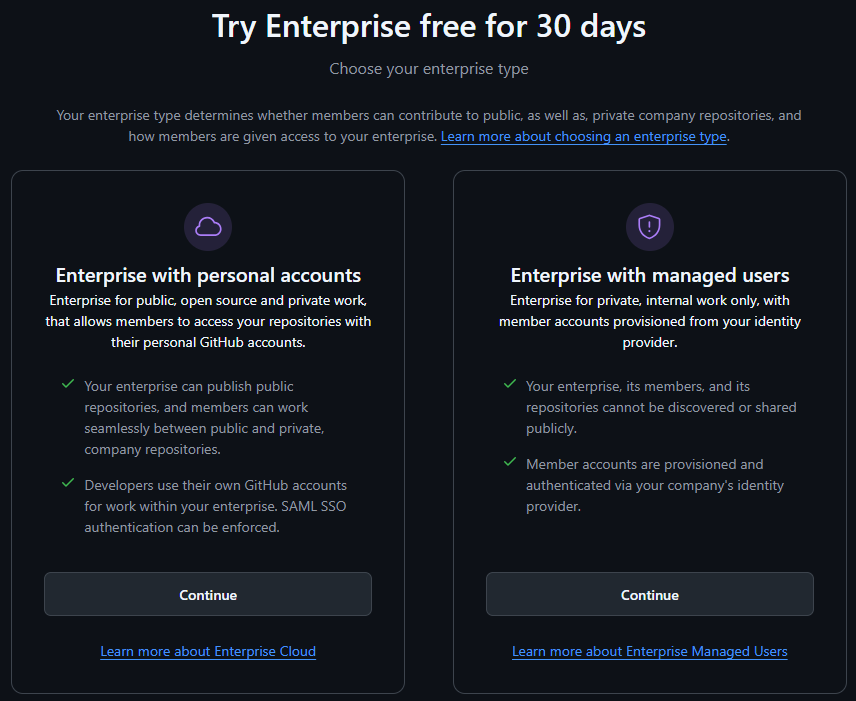
- Go to https://github.com/account/enterprises/new (Note: This link will require you to log in with your GitHub personal account first. If you’re creating a GHEC EMU account, your personal account will not be needed later).
- Choose between “Enterprise with personal accounts” (also called Non-EMU) or “Enterprise with managed users” (also called EMU).
EMU vs Non-EMU:
- If you want to restrict access to only users in your identity provider (Entra ID, Okta, etc.), use the EMU version. (This is RECOMMENDED for most enterprise scenarios)
- If you plan to use personal accounts created through GitHub signup, use the Non-EMU version. This type of account is useful for collaborating with the open-source community.
 GHEC Trial Creation (screenshot)
For the rest of this guide, we will use the EMU version.
- Go through the trial creation process and fill in the required information. Some fields need to be globally unique (e.g., the screenshot shows that
raztypeis already taken).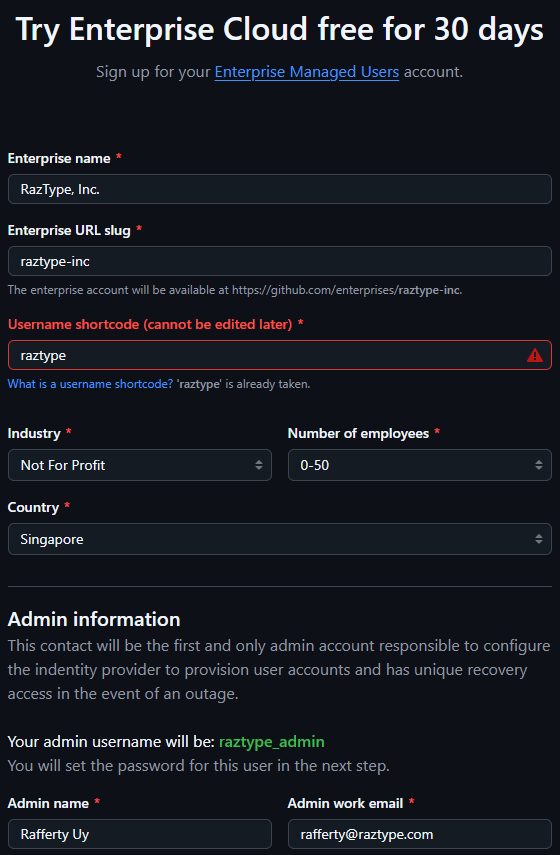
- Click Create your enterprise.
- Set the initial root admin password.
At this point, you have an active GitHub Enterprise account with a trial that expires in 30 days. You can choose to use the trial first and add an Azure subscription before the trial expires.
However, note that certain features, like GitHub Copilot, are not available in the trial version. If you want to start using these paid features earlier, you can proceed to the next step.
Step 2: Add an Azure Subscription
- Go to
https://github.com/enterprises/{enterprise-slug}, where{enterprise-slug}is the unique name you chose during the trial creation. - Click the Activate Enterprise button on the top right or go to
https://github.com/enterprises/{enterprise_slug}/settings/billing/upgradedirectly.
- Complete the Billing information and Shipping information forms.
- Under Payment method, select Azure subscription and click the Add Azure Subscription button.
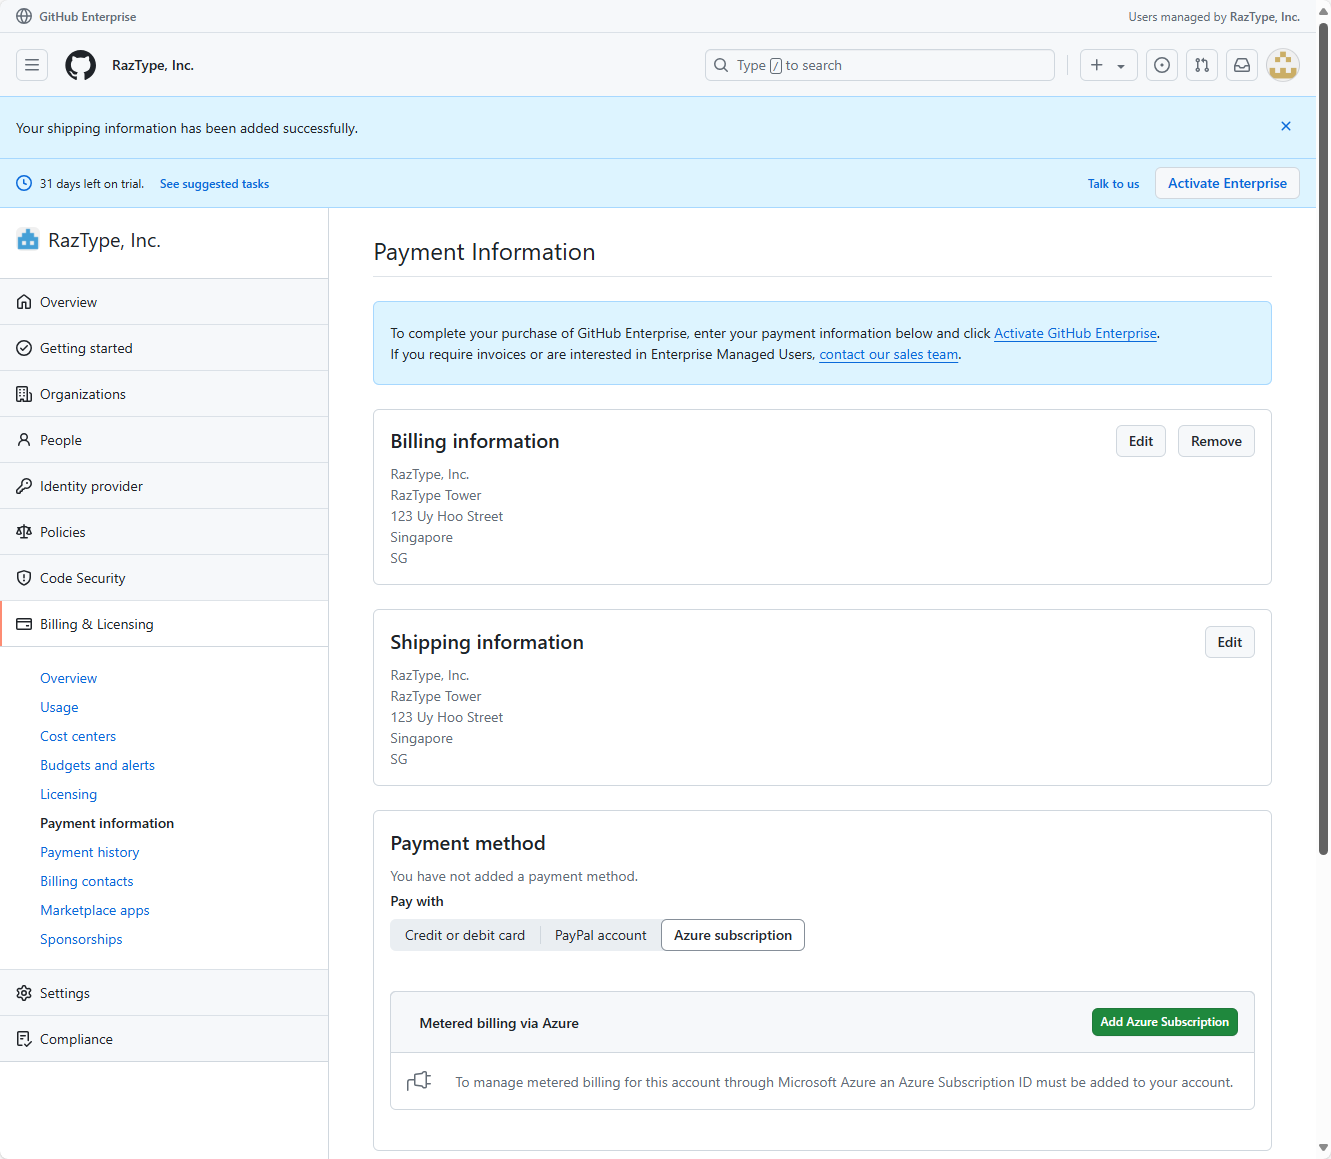
- Sign in with your Microsoft Entra ID Cloud Application Administrator account.
- Select the Azure subscription you want to associate with this GitHub Enterprise account and click Connect.

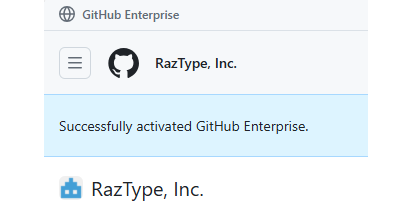
- Activate the GitHub Enterprise account.
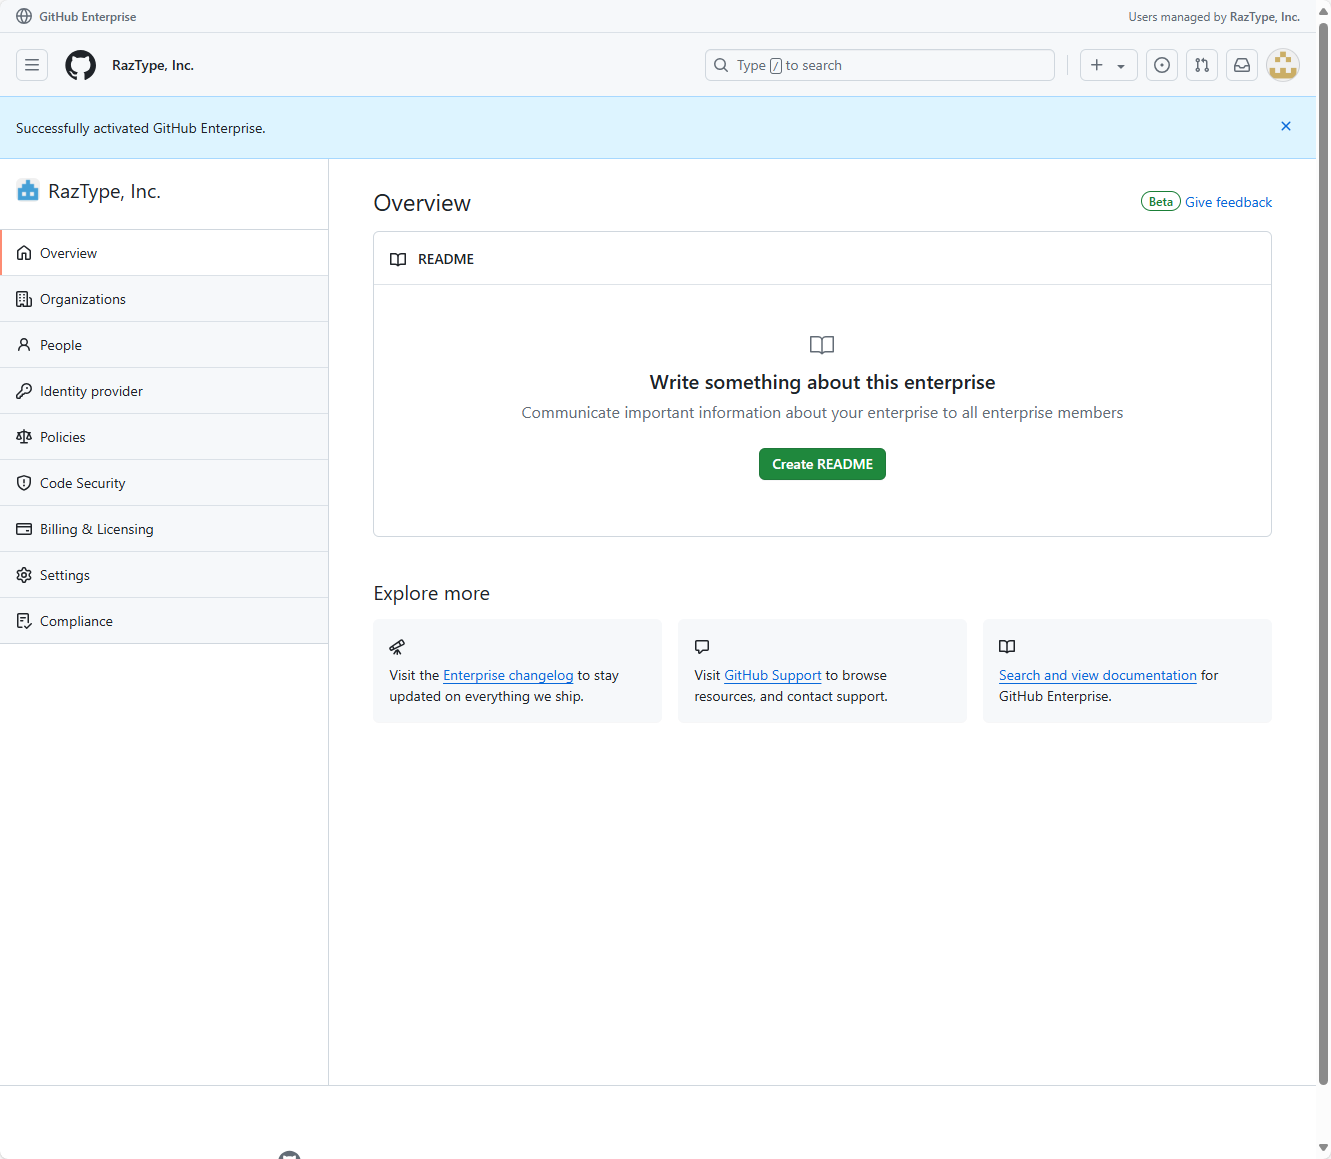 GHEC Activated (screenshot)
Next Steps
Congratulations! You now have a paid GitHub Enterprise Cloud (GHEC) account! If you chose an EMU account, the next step is to configure the identity provider. Check out my guide here!
Happy coding!